Tuesday, November 30, 2010

Half Price My Digital Studio, Shadow Technique

Would you like to test drive Stampin' Up as a business?  Sign up today for half price and enjoy the benefits of being a demonstrator for a few months with no obligation.  If it isn't for you you can drop in March, no pressure!  Until then, you will get Stampin' Up publications and a discount on your stamping supplies.  Sounds like a win/win to me!  Email me to join my stamping team  wrightplace4@mindspring.com

Are you still holding out on Stampin' Up's digital crafting solution?  I can't imagine why!  You will find so many ways to use this digital papercrafting solution and the price can't be beat.  Tell someone they want to give it to you for Christmas before the price goes back up! 

What can you do with MDS?
  • Create quick and easy scrapbooking pages, of course!
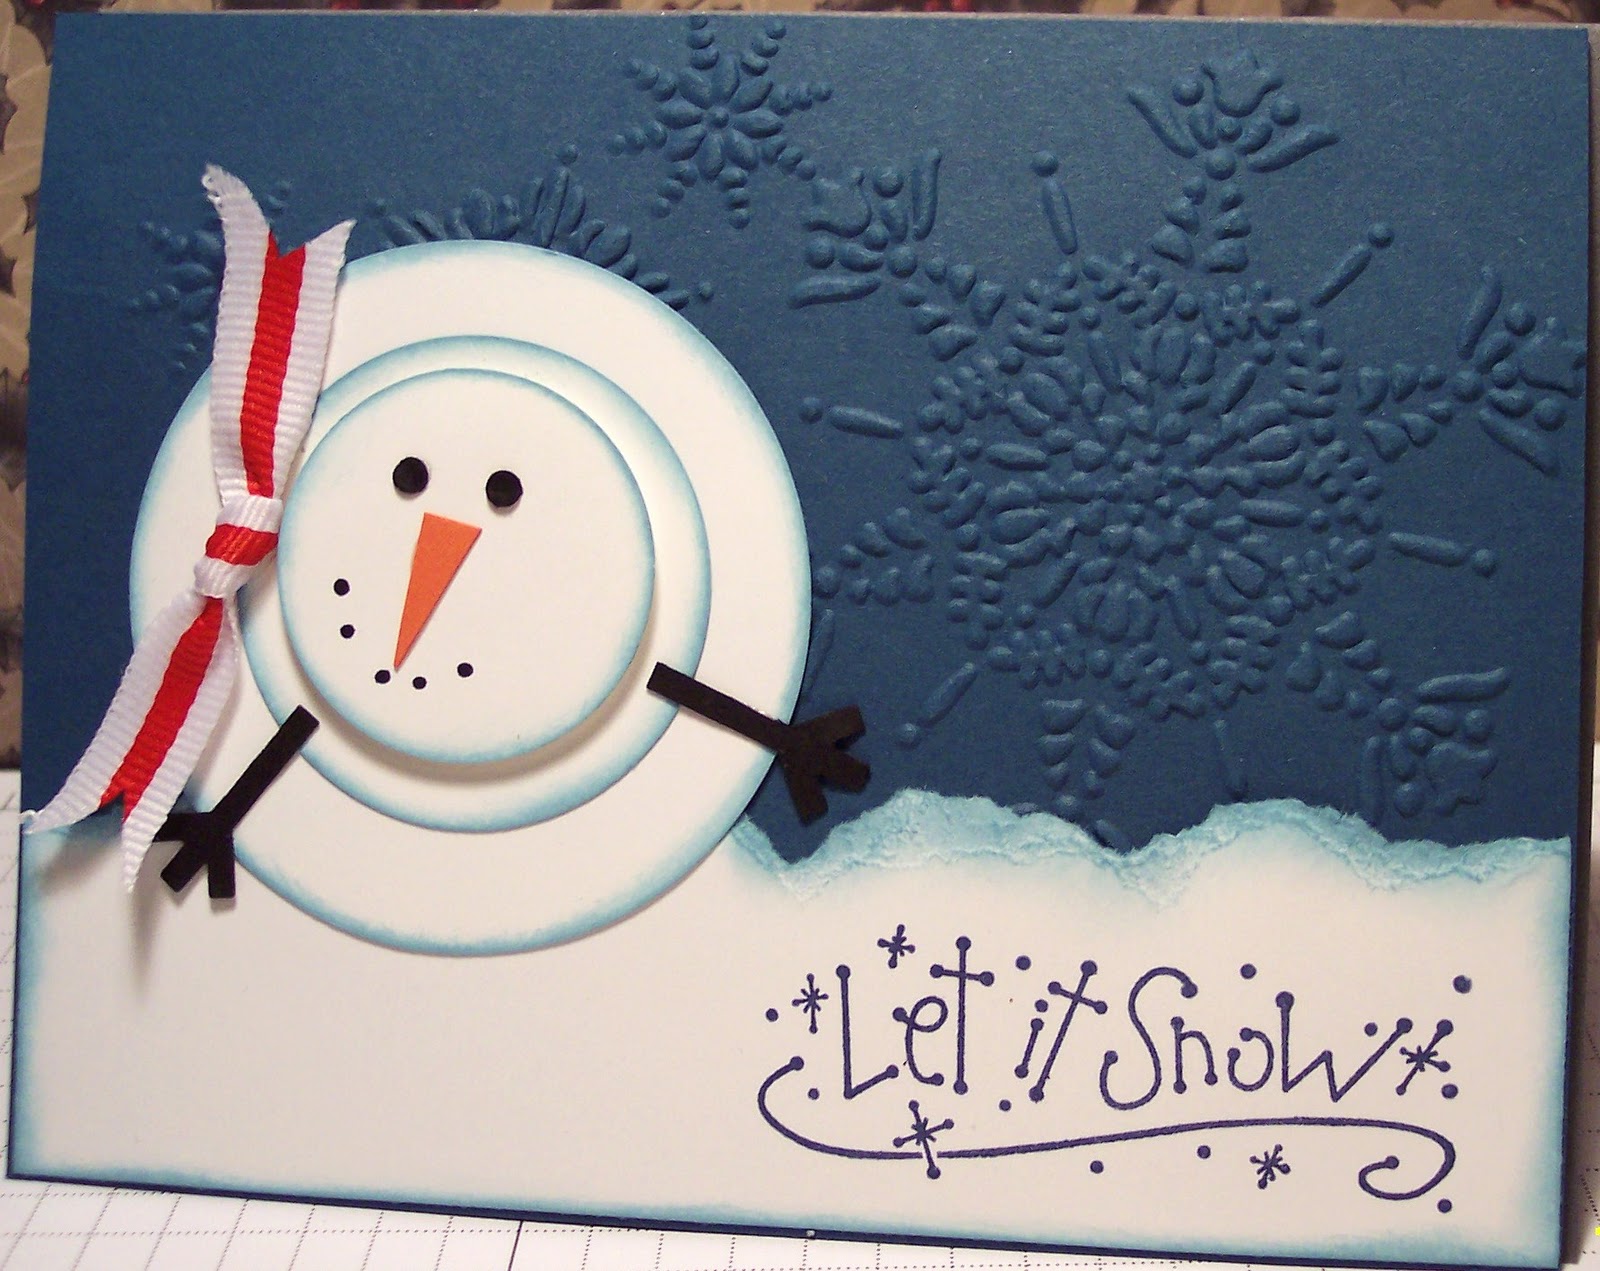
  • Create your own photo Christmas cards
  • You can add videos and/or music to your projects, how cool is that????
  • Use the stamps that are included in the MDS program to create cards and other projects without having to buy and store the stamp sets
  • Create professional looking flyers for work, school, church and other things you might need a flyer for
  • Create invitations, baby announcements or any other card
  • Create games with pictures
  • Create on the go!  If I am going to get new tires, a tune up, bus ride or somewhere I know I'm going to have to wait for a while I take my computer with me.  With MDS I have everything I need to create a project, ribbons, buttons, stamps, Designer Series Paper, cardstock, everything is there with the click of the mouse!  The pictures are handy right on my computer and so easy to import into MDS if I decide to create a layout. 
  • Do you deliberate and take forever doing a "real" layout?  Sometimes I design the layout in MDS and then translate it into a paper layout.  I can get the design right, decide on the size of the pictures and colors of cardstock I want to use and figure how to place each element.  This is a huge time saver!  When I get it how I want it I can go get just the colors and page elements I want and not have to drag everything out on my table until I can barely have enough space to  create.  I've been known to create a card on a 6"X6" space on my desk, do you work like that too?  It is insane but I do it!
  • I used to have a terrible time making flyers for classes or other things I needed to make a flyer for.  With MDS I can easily place pictures, text and embellishments where I want them and size them until everything I need is there.  If it is too much I can quickly delete any page elements I decide aren't needed, make them smaller or move them to a different place.
  • My Digital Studio boxed software includes nearly 2000 unique elements—stamps, embellishments, designer and photo templates, punches, Designer Series Paper, card stock and more. If you were to individually buy all of the products already included with the software, you would spend more than $500!  It takes up a lot less space too  :-)
  • Email your projects, post them on your blog, print them either professionally or on your home printer or put them on a DVD and mail them.
  • MDS comes with lots of predesigned templates or you can open up a blank page to create your own individual design. 
  • Stampin' Up has a webside just for people to learn and share with the MDS program!  Very cool, look what I just learned to do in the tips and techniques section, you add your stamp, change it to the same color as your background paper, add a drop shadow of 75% and it looks like a dry embossed image!  I love the Baroque Motifs swirly image anyway but was so excited to learn this technique that that stamp is just perfect for!

There is lots more you can do with MDS, I'm still learning and exploring after a year and it will do so much more than I know about!  It is fun to just open up a project and play around with all the buttons to see what happens.  

Did you know that MDS comes with:  61 stamp brush sets, 11 embellishment KITS (273 pieces), 13 background paper packs (442 patterns), 25 punches, 6 designer KITS (497 pieces), 7 designer templates (5 album/15 greeting card), 30 photo templates (available in photo album sizes and card sizes), 2 calendar templates, all of the Stampin' Up! colors (including some past In Colors).  There are also downloads available from time to time at great prices so you can add your favorite Stampin' Up stamps and papers as well as ribbons, buttons, etc.  Don't forget, the half price sale ends today!  Go to my website to order or email me and I'll get the order placed for you.

Monday, November 29, 2010

A Manly Pile of Leaves

Don't forget the half price Demonstrator Kit ends tomorrow!  What a great bargain to start a fun career of your own.  I'd love to have you on my team.  If you have been thinking about it, now is the time to jump!  My password is StampinUpRocks

I finally figured out (all by myself) why I couldn't get my digital layouts to post.  I was trying to export them from the program instead of exporting the JPEG I created to post.  Hey, if I could forget the stuffing for my Thanksgiving I can forget lots of other things too!  Just ask my daughters, I forget the grand children's names sometimes too.

When we raked up this pile of leaves my 5 year old grandson called it a "manly pile of leaves" so that had to be the title of this page.  You just have to love a 5 year old's perspective!

I like this layout, partly because it has 3 of my grandchildren in it but also because I took a picture of some of the leaves on the ground that were so brightly colored that day and used it as a background for the pictures.  It is so easy to do in My Digital Studio!  (remember, the one that is half price until Tuesday???)  This is a great time to try this digital papercrafting solution. 

The My Digital Studio program comes with 2 CD's that are very easy to load onto your computer.  Be sure to load both of them, when I got mine I was so excited to start creating that I forgot there was a second disc!  I couldn't find the bows to go on the ribbons and was missing some colors and things so I asked a friend and she asked if I had installed both discs.  Duh!  MDS works for Windows XP or Vista or Macintosh computers.  The License Agreement allows you to put it on 2 computers that are both your personal computers.

Well, I reckon I need to get back onto My Digital Studio and get the flyer made for my classes for the rest of the year.  I've got some fun ones planned, I'll post my flyer tomorrow or you can click on the catalog on the right to go to my Stampin' Up website and see my classes posted there.  I hope you can join me for some creative fun!

Saturday, November 27, 2010

Half Price Specials! Cocoa Pouch/Coaster and a Lost Tooth

  • I wanted to share a project I did in My Digital Studio where I took a picture of my house each week during October to show how quickly the leaves changed colors and fell off the trees.  It is a pretty cool layout but since Blogger changed some of it's settings and I can't figure out how to post them.  I used to be able to post the layouts but not today.  I'll keep trying and maybe you can see them later.

I wanted to share them to emphasize that the 50% off special ends in 3 days, Tuesday, Nov 30.  This is a great price on this wonderful (and easy to learn) digital crafting program.  My Digital Studio is regularly $79.92 but through Nov 30 it is only $39.98!  This is a great price, there may never be a better time to buy this versatile and fun program.

Also half price are both of the Designer Fabric packages.  The project below is made with the Candy Cane Christmas Designer Fabric.  The more vintage type fabric, Deck the Halls is also on sale,  they are regularly $9.95 and are on sale for $4.98!  This is a great price on beautiful fabric for Christmas projects.
 This project was made using the Scallop Square Die.  I made the squares like I did for the purses but it only requires 2 squares (4 cut pieces of fabric) per pouch.  You can put some fun goodies in the pouch, these ones have cocoa with a test tube of marshmallows and a candy cane to stir your cocoa to give it a minty taste.  I used a large-eye needle to sew the 1/8" Taffeta Real Red ribbon around the top of the pouch.  I bet you can think of lots of other treats to fill the pouch with.  It would also be fun wrapping for a small Christmas present.
Another great thing about using the pouch for cocoa or spiced herbal teas would be that it could be used as a coaster when the cocoa is mixed up!  I saw this wonderful idea on Stampin' Connection, a website for Stampin Up Demonstrators where we can go to get lots of ideas for our business.  Another great benefit of being a Stampin' Up Demonstrator. 

Which reminds me of another thing that is half price - the Demonstrator Starter Kit!  You get over $310 in  crafting and business supplies in the kit which is regularly a great price at $175.  Until Tuesday, Nov 30 it is half price at $87.50!  It sounds like it is time to take the plunge and join my team  :~)

The last half price item is the Sweet Shoppe Alphabet bundle, it includes both the upper and lower case stamps, wood mount are regularly $63.90 and are now $31.95.  Clear mount are regularly $47.90 and are now $23.95.  This is a perfect time to add this fun alphabet set to your stamp collection without having to pay full price!

One last picture, my 5 year old grandson lost his first tooth this week.  Do you think he is excited about it?  I love the happy smile minus a tooth but those freckles are absolutely precious!

Thursday, November 25, 2010

Happy Thanksgiving!

This is what I saw when I looked out my kitchen window to start my Thanksgiving morning.  It was an absolutely spectacular sunrise and the day turned out to be very nice too.  We had storms and rain about the time we started eating our Thanksgiving dinner and were thankful to be inside, dry and warm and enjoying some great food (if I do say so myself).  As we filled our plates and were getting ready for the blessing I looked at my plate and realized that I had forgotten something important.  Stuffing!  I love the stuffing for the turkey but had completely forgotten to make it.  Well, everything else was good - and life is good.

After lunch I got a chance to finish up a project for another class I have coming up.  It is a Christmas Star Book.  I think it would be a wonderful way to record some of your Christmas traditions and set out every year with the rest of your Christmas decorations.  The class will be on Monday, Dec 13 at 2:00 and 7:00 PM.  It will cost $15 and you will have a lot of leftover paper and cardstock stickers to make a few more cards or a scrapbook page.  Come on out and learn to make this fun little scrapbook, email me to sign up by Dec 4 so I can order supplies to be here in time for the class.  wrightplace4@mindspring.com

Tuesday, November 23, 2010

Yes, it's soap!

Angela was close but Kelly got the more accurate answer.  Too bad I wasn't offering a prize, huh Kelly.

One of my upcoming classes includes 3 soap-related projects.  The flower soaps will be one of them and will be packaged in the cool metal nugget tins.  Obviously I couldn't package them in paper, I wanted to use something the recipient of this gift could set on her counter to use the soaps out of.  The picture is a little dark but the red/purple/yellow assortment I showed Saturday are in the back and the box in the front has poinsettias and holly leaves.
This class will include 3 soapy gifts.  On the left are bath salts packaged in test tubes and a cute package with 2  holes punched to hold the test tubes.  Middle is the Tin with flower soaps and on the right is Christmas hand sanitizer boxes.  I found several fun scents of the hand sanitizer for you to choose from to fill the little boxes for this class.

The class will be held on Dec 6 at 2:00PM or at 7:00 PM and will cost $15.  I hope you can come and clean up!

By the way, don't let the time on the great bargains run out, they are only good till the end of the month!  Save a  lot of money whether you are shopping for digital, fabric or stamping goodies and embellishments or if you want to start a fun new career.  There surely will never be a better deal!

I played with My Digital Studio today and made a couple of layouts.  I think you will like them, I tried to explore some new digital techniques I hadn't done before.  I reckon I have probably told you how much I enjoy creating in MDS  :~)

Monday, November 22, 2010

Online Spectacular


Did I ever tell you how much I love my job?  Not only do I get to have the fun of stamping at business meetings, getting a discount on wonderful quality Stampin' Up products and have classes in my home or in friends' (or future friends) homes, the company is always finding ways to make a fun job even easier.  Look at the great bargains you can get on the Online Spectacular specials!  No need to wait till Black Friday to start shopping and no crowds to fight (although I have a few friends who are nuts enough to enjoy the crowds).  Guess what is 50% off - MDS!!!!!!!!!!  You just can't get any better a price on this wonderful software to make creating cards, flyers and scrapbook pages so easy. 

And the best part, not only can you find great bargains on MDS, wood or clear mount ABS set, fabric, brads, ribbon, Decor Elements vinyl accents and lots of stamps and dies, besides FREE shipping, you can get hostess benefits! 

Here is what you can do:
Cick on the link in the picture below to see the bargains. 
Add a few items from the Clearance Rack on my website (if you go on my website you will get better pricing than the general Stampin' Up dot com site and you will be prompted to enter your hostess gift selections when your order gets over $150)
If your order isn't over $150 get a couple of friends to order with your order - you are the online hostess!  Easy peasy.


While you are here, see what I did today?  I had help from a few friends but there is a Christmas Tree display at the Smith-Trahern Mansion in Clarksville and we sat up and decorated the tree for our church today.  It was great fun, kind of like a practice run for doing my tree, and it turned out so pretty I just had to share.  I wish I had a better picture, I didn't take my camera with me so this was taken with my cell phone.

So that is what I did today instead of stamping.  Angela is the only one who posted a guess about what the shiny flowers were.  I'll post the finished project tomorrow after a workshop I'm doing but here is a hint:  To the left of the bowl of flowers is something that will be used in conjunction with the flowers.  Can you figure it out now?

Saturday, November 20, 2010

Cleanin' Up Class

Here is a sneak peek at one of my upcoming classes.  Can you guess what it is?  I found this wonderful idea and, of course, I figured out a way to package it with Stampin' Up products!  More to come later.  I'm finishing up the details for my classes for the rest of the year (Christmas is just 35 days away!!!) and will try to get them posted early next week.

Until then, what do you think this is?

Oh yes, have you been thinking about joining my Stampin' Up team?  The half price Demonstrator Starter Kit is such an amazing deal, how could you pass it up!   You choose your own stamp sets, ink and paper colors, it includes 3 wood-mount stamp sets, 1 clear-mount with clear block, 1 wheel with handle and ink cartridge, 4 ink pads and an ink refill, 1 versaMark ink pad, 2 markers, a blender pen, 2 cardstock packs, 1 pack of DSP, ribbon and assorted adhesives, Stampin' Scrub, cleaner and a decor Elements piece!  Wow, that's a lot of fun!  Don't you need all that for Christmas???  Then you can get 20% off all your Stampin' Up purchases, meet lots of new friends doing what you love and go to business meetings where you can stamp.  Did I ever tell you how much I love my job?  Think about it, I'd love to have you on my team. 

This special only goes until Nov 30 so contact me soon to make it happen!  wrightplace4@mindspring.com

Tuesday, November 16, 2010

Melting Snowman Card

Here is another card I got in the swap last week.  I love this whimisical card!   I'm not entirely certain if he is melting or if it is an aerial view and he is looking at the stars.  It uses the fun as well as beautiful Northern Flurry Embossing Folder for the Night of Navy background and look at Mr Snowman's arms - they are part of the snowflake punch!  Perfect for snowman arms.  This is just a fun card, wouldn't anyone love to get it? 

I got a sneak peek at the Sale-a-bration catalog and the Occasions Mini Catalog that will be coming out in Janurary.  I reckon I'll need a lot of the goodies these have to offer.  I already have great plans for the new Ice Cream Shop paper pack.  Gotta love free stuff!

Monday, November 15, 2010

Amazing offer - and 2 Christmas cards

For two short weeks, we’re making an offer to join the Stampin' Up family that you will find simply amazing! Starting November 15, and lasting until November 30, 2010, you can purchase the Standard or Digital + Starter Kits for only $87.50--that is 50 percent off the regular price of $175 (for over $310 worth of paper or digital crafting and business supplies!)  Did you notice the special at the top of my sidebar?  You can see a sample kit there and get other details.  You can choose which stamps and colors you get in your Demonstrator kit, what's not to love!
At this price, the Starter Kit would even make a great holiday gift that a spouse could give his paper craft-loving wife!  Learn more about this amazing offer, and get ready to share what you love, email me for a chance to join now at this great bargain price!  wrightplace4@mindspring.com  I'd love to have you join my team, the training always includes stamping technique training, what could be better than stamping at all your business meetings??  Signing up is quick and easy.  You can join online and send your payment with your debit card and just wait for the UPS man to bring the fun to your house!  I love easy. 

Another thing to consider, for those interested in My Digital Software...if they join Stampin' Up now, using this special and select the Digital Kit they'll in essence be getting the MDS software for free!!  How cool is that!  I love my MDS program and use it all the time, I used it just Saturday to make a poster about the Christmas dinner we are having at church next  month.  It's not just a scrapbooking program.

Here are 2 cards I got in a swap at our last Stampin' Up team meeting (see, you get to swap at our business meetings too  :~)  I love all the Christmas card ideas I'm seeing.  I haven't decided what I'm going to do for my own card yet.  These are both great possibilities though.  On the left is a great card in Night of Navy Very Vanilla and Cherry Cobbler that uses the Rejoicing in Christmas set that is in the Holiday Mini Catalog.  I love how she made the card with the Top Note Die as the base of her Nativity.  She didn't put her name on the back though so I don't know who to give credit for this beautiful card.

The card on the right is just gorgeous but I know the Northern Flurry Embossing Folder makes it quick and easy to create the base.  Add the Peace on Earth sentiment and a few pearls and it's finished!  Sue Erikson made this card, you can't tell from the picture but it also has shimmer mist on it so it is nice and shimmery and all of the snowflakes have a pearl in the center, even the 3 tiny ones.  I'm thinking I need to do a quick and easy card for Christmas, I reckon this one has distinct possibilities.


Sunday, November 14, 2010

Inlaid Embossing

These cards use a technique called Inlaid Embossing.  It is so quick and easy to do but is a great look.  For this one I used the Baroque Motifs stamp set to stamp the swirly background and the Thanks stamp from the Afterthoughts set.  After stamping these I adhered several flowers and ran the card fronts through the Big Shot with the Square Lattice Embossing Folder.  Done!

The second card I used basically the same colors but used Pumpkin Pie instead of Very Vanilla for the background color.  I cut the Pumpkin Pie piece to 5 1/4" X 4" before stamping and embossing and then adhered it to a Very Vanilla card.  I also reversed the side of the embossing folder so the squares are going up instead of in like the first card.  It does make a difference which way you place your paper in the folder, doesn't it?

I used this card for a swap and since it is fall, I used the fall colors.  I'm thinking that one with all red flowers but the Very Vanilla background and Old Olive swirls would make a great Christmas card.  

Wednesday, November 10, 2010

I CASEd Myself!


Do you ever CASE yourself? I made this card last Spring and really liked the way it turned out. The ribbon rose was a fun technique and looked great on the card. I came across the card this week and thought it would make a great cardmap for a Christmas card.  I used Deck The Halls DSP and Always Artichoke, Cherry Cobbler and Very Vanilla cardstock.  I stamped the Joy at Christmas from the Perfect Punches set in Versamark and embossed it with gold embossing powder.  Very elegant.  To continue the elegant touch, I gathered a 12" length of Cherry Cobbler seam binding in a zig zag patter
n to make a very full ruffle.  It is easy and only takes 10 minutes or so to stitch and gather. 

I used white thread on the example of how to do the zig zag stitches so you could see them better.  The Joy card uses red thread to gather the seam binding.  The last card uses white thread.  I actually like it both ways.  I used the same length of ribbon for both cards even though the ribbon covers almost twice the space in the second card.  You can see how it can look with a tight gathering and with it gathered more loosely.  Really, this technique looks great even if you don't get it exact or have a specific measurement to use.  I like it gathered more tightly like in the first card but it looks great more spread out like the last card.

Other products  I used on the second card are the Northern Flurry Embossing Folder, Music Notes wheel, Peaceful Season stamp set and Silver Shimmer Paint, applied on snowflakes with a sponge dauber and the dove is stamped by using the sponge dauber to add the paint directly to the stamp.  Besides the seam binding I also used Cherry Cobbler cardstock behind the dove image and punched with the Dotted Scallop Ribbon Border punch to highlight the music in the center of the card.  The dove is cut with the Scallop Rectangle Clearlit die.  I can't wait to see if we get more of the clearlit dies because it is great to be able to put the die on the stamped image and see where to center it so you can cut it in the right place. 

Last of all, I need to post the blog candy I offered during the blog tour.  The stamp set, ink pad, marker, Stampin' Around cartridge and reinker go to Amy Phelps!  Amy, email me with your mailing address so I can get your fun blog candy sent to you. 

Well, I reckon I need to fix supper.  My husband will be home in about a half hour and he seems to like to eat supper every night  :~)

Thursday, November 4, 2010

Royal Blog Tour

Hello weary traveler of the kingdom, welcome to my castle!  I hope you will enjoy your royal visit with me.  I am showcasing the Something Sweet stamp set today.  This is a fun and versatile set that can be used with the Sweet Treat cups and filled with candy or other goodies.  For my flower I filled the Sweet Treat cup with nerds.  Don't they make a great flower center?  I stamped lots of leaves in the background, see how some are darker and some are lighter?  That is called "generational" stamping.  You stamp twice with each inking so some images are darker than others.  Another technique I used on the card is using reinkers to color the pearls.  You could paint them any color you want to!  Just use a few drops of reinker and paint over the pearls with a paint brush then sprinkle on clear embossing powder while the ink is still wet.  Heat the embossing powder and let the pearls cool. 

I stamped and cut out 4 leaves and embossed them with the clear embossing powder  and used them along the stem and on the sentiment.  It took a while to cut out all the flower petals but this card can be made fairly quickly. 

The second card uses the fish image in the stamp set.  I stamped 2 little goldfish in Pumpkin Pie ink and cut them out.  I stamped a little scene using a stamp from the Just Believe stamp set and sponged on a little Bashful Blue for the water and some Crumb Cake for the gravel.  The circles I used first for the "gravel" and then decided they would make dandy bubbles are from the Circle Circus set. I added a fishbowl base with the Round Tab punch in Brushed Silver cardstock.  The sentiment is stamped in Not Quite Navy and a strip of the cute little pearls are added under it.  A few larger pearls in the upper corner and a ribbon at the bottom finish off this fun fishbowl card. 
The third card is one I made before the color renovation but I wanted to share it with you anyway so you can see another idea for this set using converstion hearts to fill the Sweet Treat Cups and stamping the background with different color hearts.  I used the cute gum machine image from the stamp set on this card. 

Blog candy time!  I'm offering this beautiful retired stamp set, Of the Earth and a 4-pack of Bordering Blue color, the inkpad, marker, small wheel cartridge and a refill to keep them all juicy and working for a long time.  Just sign up as one of my blog followers and post a comment about one (or all 3) of my projects and be sure to leave contact information so I will know how to contact you if you win.  If you don't want to leave it with your comment, you can email it to me at wrightplace4@mindspring.com so I can know how to contact you. 

Wednesday, November 3, 2010

2 Beautiful Christmas cards

I went to a team meeting last night that was fun as well as informative.  We had a card swap and these are 2 of the cards I got.  the wreath card says it is from Earlene but the other card doesn't say who made it and I can't remember who gave it to me.  They are both beautiful in their own way.  The one on the left uses the Delightful Decorations stamp set for the 3 ornaments and the Elegant Lines Embossing folder for the background.  I love the colors she used, they are not the traditional Christmas colors but very pretty.

Earlene's card features the new hostess set in the front of the Holiday Mini Catalog called Northern Hearts.  I love the way the red berries spark instant color to the wreaths.  She embossed the Very Vanilla background with the Petals Aplenty Embossing Folder.  It looks like it would be a quick and easy card to make but it sure looks great!

I reckon I'll see you again with my post for the Royal Blog Tour.  I have my projects made and descriptions written so I am ready for Friday to come!  I hope you will join me as well as the many other blogs on the tour.  I suggest you pace yourself through the weekend.  There are 78 blogs on the tour so divide that by 3 and visit 26 of them each day.  I'm thinking 26 is about all the wonderful ideas my head could handle in a day!  A lot of castles on the tour will be offering various blog candy so good luck in winning some blog candy on the tour too. 

Monday, November 1, 2010

It's November!

Time to put away gobblins and start creating gobblers!  I had a lot of fun creating Halloween projects but I was ready for Halloween to be over.  Somehow I never get tired of Christmas though.  I'll try to post some Fall and Thanksgiving projects over the next few weeks until Thanksgiving but there will continue to be a lot of Christmas projects too.  First though, a skinny bag turkey treat!  I CASEd this idea from Kelly Mayou but made a few slight changes.  Having grown up on a farm, I know a few things about turkeys  :~)
One spring when I was just 2 or 3 my daddy brought home a baby turkey to fatten up and have for Thanksgiving dinner that fall.  This turned out to be a very special turkey and he soon became a family pet.  Needless to say, when Thanksgiving came around, daddy went to the store and bought a frozen turkey for mom to cook!  We simply called our little turkey Tom.  He loved to show off his pretty feathers, stretching out his wings to the ground and fanning out his tail feathers whenever anyone came to visit he would strut around the yard so everyone could enjoy his beauty.  Tom turkey was always there, part of home.  One winter when I was 16 or 17 he wandered off into the woods and we never saw him again.  He was very old by then, in turkey years. 

Thanksgiving never comes without me reflecting on Tom turkey.  He was quite a character.  I think my skinny bag turkey is a character too.  He was fun to create.  I must have enjoyed it because I'm in the middle of making 40 of them!