Then I decided to put down laminate flooring and rip out the old red carpet. After buying the flooring I was in a car accident and besides whiplash and horrible seat belt bruises (better my waist than my face) I hurt my thumb pretty badly. I guess it was sprained, the x-rays showed no breaks. After several weeks of my thumb being too painful, I hired someone to do the floor. The more I think about it the more I think that was a good idea regardless of how my thumb felt! The room is all finished now and I have started moving things back in it. It still isn't ready to take pictures of but I'll be showing it in a week or so I hope.

This is me with Robin and Jeannie at the pre-convention class where we taught how to make the boxes. It was great fun and they are such sweet ladies I totally enjoyed working with them.

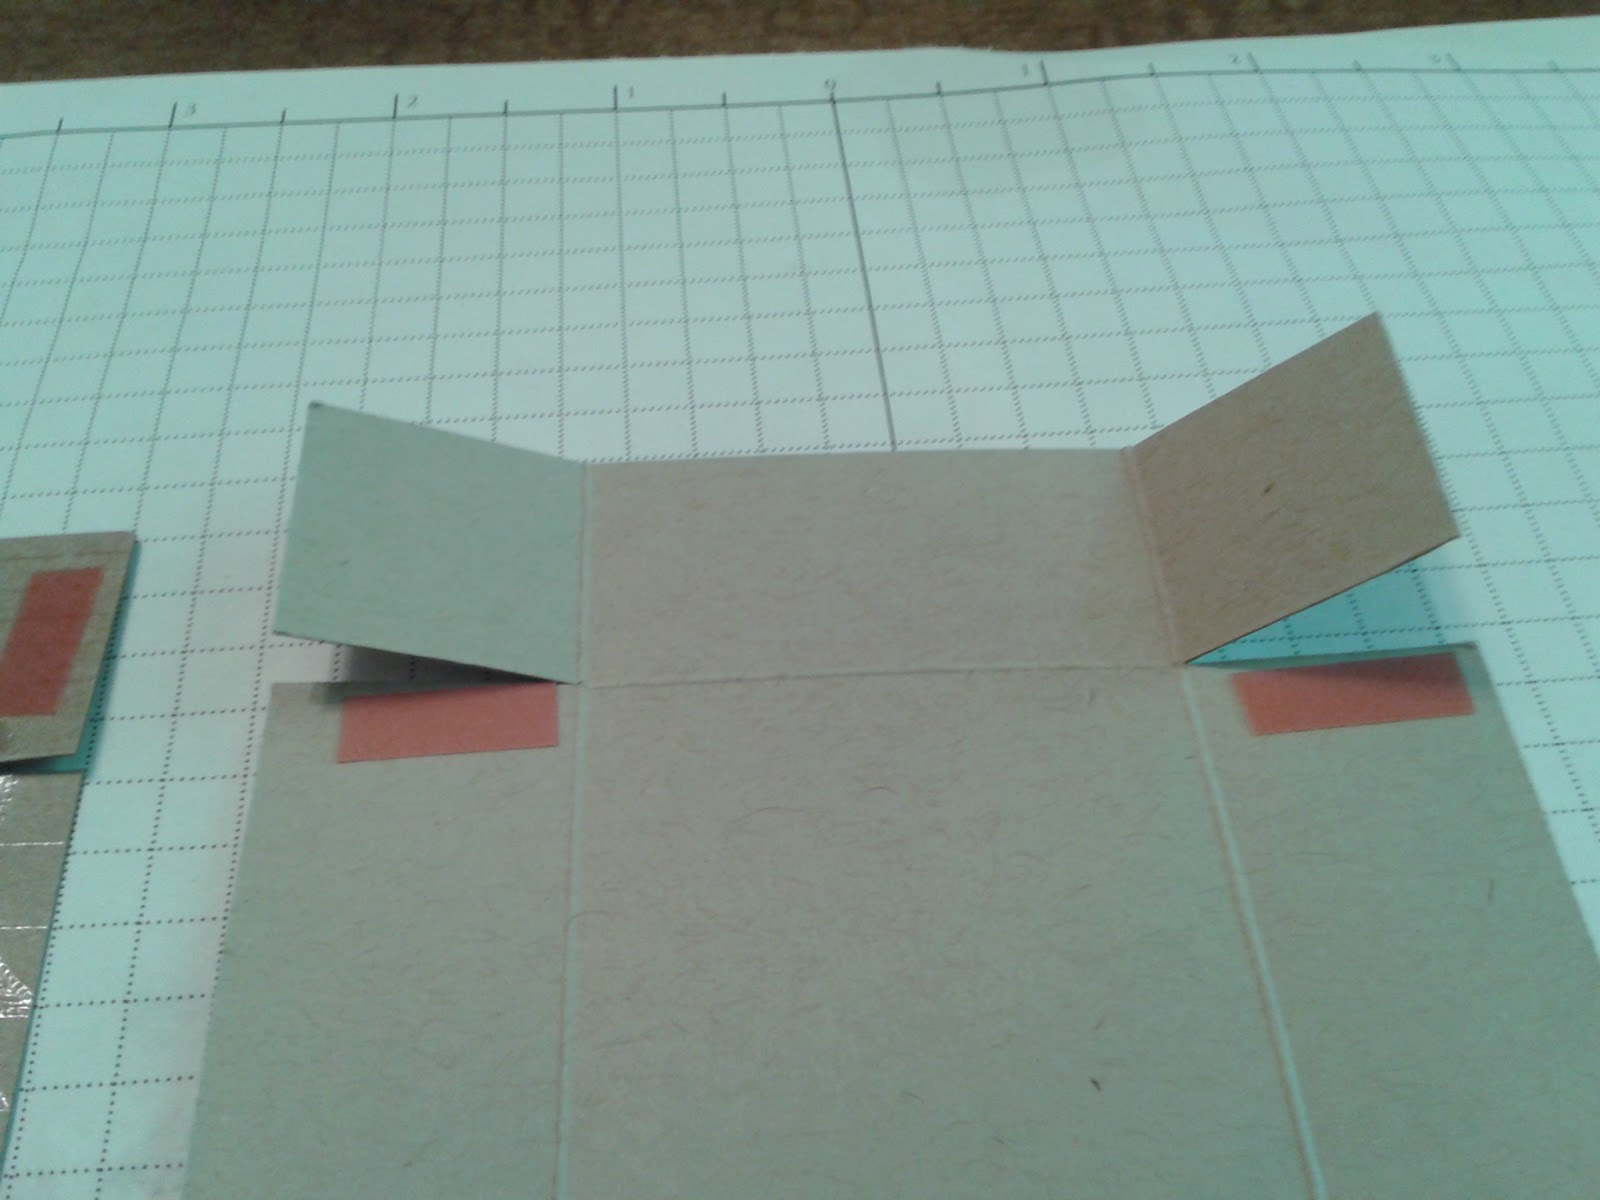
The top was cut from the Natural Compositions Specialty paper and the bottom and the dividers were cut from Crumb Cake Cardstock, the top and bottom both measure 4" X 6". The divider is 2"X6", score marks are noted on the sample above.
Score the bottom of the box piece at 1" on all 4 sides. When scoring the top of the box, shift the piece slightly to the right when you put it on the Simply Scored Tool. I found that even though the Simply Scored has groves every 1/8" (which is WONDERFUL!) even that small measurement will make the bottom way too small for the lid to fit on nicely. You could also cut the paper about 1/16th of an inch smaller than the 4"X 6" I used. Either way, the top needs to be slightly larger than the bottom so it fits nicely.

Clip in 1" on the score line on the long sides of each box piece. You could do it on the short ends but since the box is longer one way it will give it a little more stability if the flaps are attached to the long end of the box. I hope that makes sense!
Sticky Strip is the best adhesive for putting the boxes together. It holds so firmly that your box won't come apart. I like to put a strip on the outside edges of the flaps and again on the inside edges so there are 2 layers per flap and the end of the flaps inside the box aren't loose and in the way.


It will be slightly easier to add the Window Sheet to the box before you assemble it. If you look closely at the above picture you can see the little circles of glue dots at the corners of the window sheet. You may want to put another glue dot in the middle of the long sides but you will need to fold it in half to make sure it doesn't come out the edges and seal your lid on the box :~)

When you score and fold the divider it will look like this. You don't have to put adhesive on it if it fits snugly but I put adhesive so it wouldn't pop up in the middle. Some of the dividers needed to be trimmed when the ladies were making them. Depending on how you score you may need to trim a little off the ends to make it fit. The divider piece is optional, of course but makes it a fun box if what you are putting in it will fit between the sections.
After your box is put together you can decorate it however you want to. We used a Scalloped Circle Punch flower - 5 layers punched from the packing paper we get with our Stampin' Up orders. Wad up each piece until all 5 are crumpled and then spread them out and pierce a hole in the center and hold together with a mini brad.

It doesn't matter what color the brad is because it will be covered with the top flower. Pull up one flower at a time and crumple it around the brad, crumpling a little less with each layer.

Add a few pearls and some Baker's Twine to tie a tag on and the box is finished and ready to present a small gift or some nuggets, they fit great in the box.

What a great little box this is to package those sweet small gifts in! Presentation is everything, right? I really love the Natural Compositions paper for this project.


1 comment:
Cute, Cute box!!! thanks for showing us all how to do it!
WOWSER!!!
I am so glad you weren't hurt any worse than you were, in your accident!!! ACK
Can't wait to see the reveal of your craft area!!!
Post a Comment