Showing posts with label Rock and Roll Technique. Show all posts

Friday, May 4, 2012

Mixed Bunch Card

I used several great but easy techniques to create this card with the Mixed Bunch stamp set.  It is a no layer card so that means no extra postage.  I hardly ever do a card without some kind of layer or embelishment, I really don't mind placing an extra stamp on a card after I've spent all that time making it special.  Most of the cards I make go for only 1 stamp though.

I started by placing 4 post-it notes in a square in the corner before stamping the flower.  This is called masking, making it so part of the area where you are stamping doesn't get the ink on it.  I also used the "Rock and Roll" technique on the flower by inking it up with Daffodil Delight ink and then rolling the outer edges of the flower stamp in Pumpkin Pie ink.  This gives it dimension without much trouble at all! 
After I stamped the flower I stamped another flower on another post-it, being sure the edge of the flower was stamped so it would be above the sticky part.  Then I cut it out (actually I only cut half of it out since the other half would be on the other mask and didn't need to be cut) and placed it exactly over the flower image I had stamped on the card.  That is double masking!  With the border mask and the flower mask in place I sponged on some Pacific Point ink lightly in the remaining unmasked area of the card.

It is kind of like magic when you remove all the masks.  This is a fun technique.  After removing the masks I doodled some lines and stamped a greeting with the Thoughts and Prayers set.

I'm thinking about doing some straight line embossing using my Simply Scored tool instead of the doodle lines.  If I get around to it I'll post so you can see the difference.  I think the doodles are easier but I'm always dissatisfied with my doodling and the scored lines would be more "perfect". 

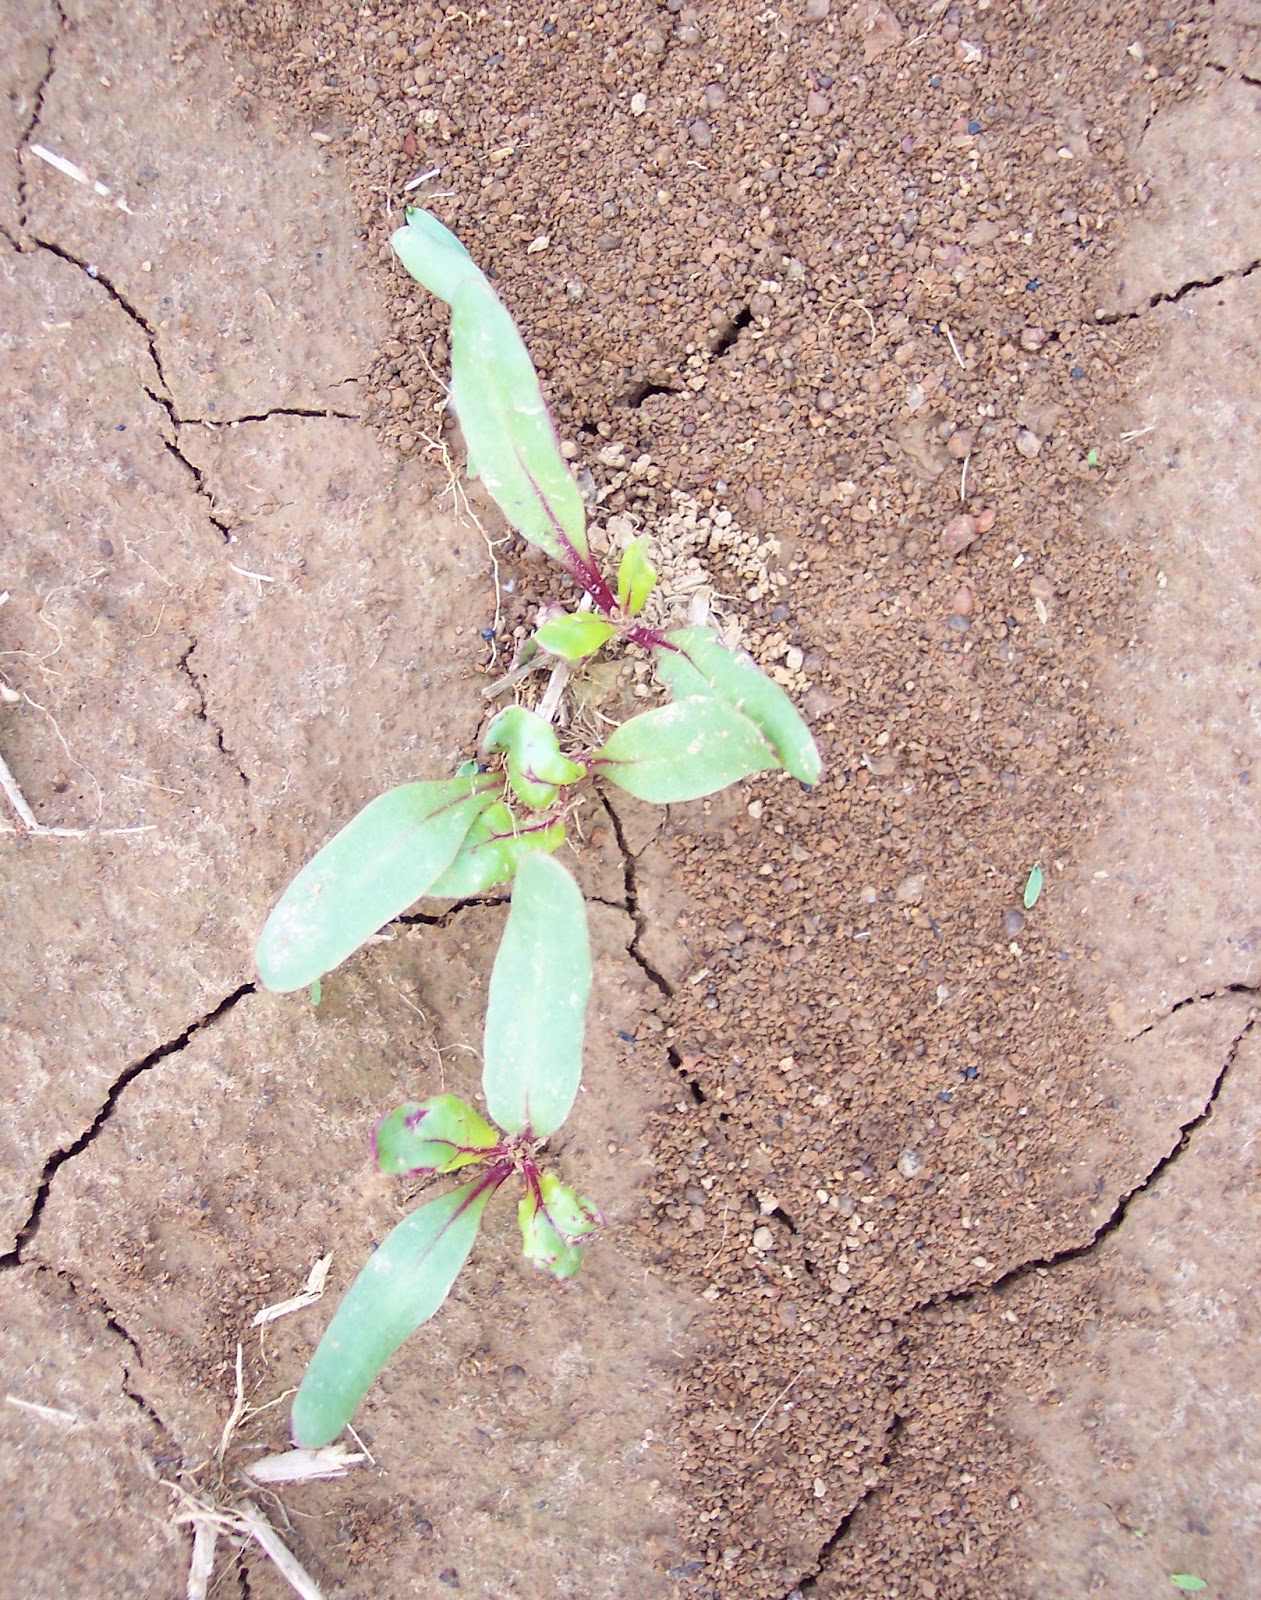
Guess what else I did today - planted more beets and some squash in my garden!  I reckon it doesn't make your day but I'm all excited about it when my garden starts sprouting up in the Spring.  I have lots of spinach and lettuce coming up as well as snow peas, corn, tomatoes and beets.  Oh, and I planted these funny gourds they call snake gourds.  They are supposed to curl around and look a lot like a big ol' snake.  I hope they turn out looking like the picture on the front of the package.  Today I planted 8 hills of yellow squash, 8 hills of zucchini and 6 hills of butternut squash and another row of beets.  Did I mention that I LOVE beets??? 

Tuesday, July 28, 2009

Rock N Roll Tutorial, Stampin' Up Special of the week, Blog Candy!

I got lots of comments (thanks!) about all of my cards but more were about the rock n roll technique I used on the last project. This is a great technique that can be used with so many stamps! I'm working on a scrapbook page with another technique that I plan to post tomorrow evening.
This is a different color variation of the card I featured with the Rock n Roll technique. I used Pumpkin Pie and Old Olive inks for the blog tour post. For this one I used Pale Plum and Old Olive. The Pale plum coordinates best with the Orchid Opulence cardstock and Cottage Wall paper.

Basically, you ink up the stamp with a lighter color ink and then roll the edges of the stamp in a darker ink pad. It helps if the stamp is somewhat round but it doesn't have to be.
The butterfly from the Garden Whimsy set inked up just beautifully in Bashful Blue and Lavendar Lace. I'm thinking a few marker lines around him would really make him pop. For the flower from the True Friend set I used 2 very different color combinations but I love the way they both look. One is So Saffron and Taken with Teal while the other is Regal Rose and Bravo Burgundy.

For the Medallion stamp I had to rub the ink pad around the edges since the Medallion stamp is larger than the ink pad.


For this project I wanted a little more color so I also sponged around the middle with more Old Olive ink. I scrunched up the sponge so it was very small so that I wouldn't get more ink around the middle than I wanted.
The Medallion stamp is so large that it is better to lay the stamp, rubber up, on the table and lay the paper on top of it and use your brayer to evenly spread the ink. Especially if you have a plastic table, the surface isn't flat enough to stamp every area completely solid. Another tip for getting a solid image on a stamp with so much solid rubber area is to sand the stamp before inking the first time. You don't want to sand hard, just lightly one direction and then the other direction. This gives the stamp a little "tooth" so the ink covers it better. The Stampin' Up sanding block is perfect for this but sometimes I just use a cardboard emery board if my sanding block is hiding from me.

When using this technique, be sure to clean your stamp between each project so you don't mess up your ink pads.

Blog Candy Drawing!
I know you are all waiting to see if your name is drawn for the blog candy. I didn't try to do the random number generator since I'm not so computer savy but after hand writing all the names (about 100) and cutting them out and folding them all the same way I'm thinking I could have figured out the computer generator thing faster! Look at how full the little bag is. Thanks for all of your comments, I loved reading them!

I shook the bag and then shook it again and reached just past the middle to draw the winning slip of paper out. The winner is . . . . . . . . . . Dawn D! I'll be emailing Dawn to get her address so I can send the package to her. Congratulations Dawn, I hope you have some special people to send the cards to
Special of the Week

I'm a little late posting the special of the week this week. I got distracted (as I so easily do) by the blog tour and a couple of other things I have going on and forgot to post on Monday. It is a great special too, another punch!
You are going to love our Heart to Heart punch, especially this week, July 27-31 when it is just $10.99 - That is more than 30% off the regular price of $15.95!
This great punch features 3 distinct shapes and sizes of hearts. We even have stamp sets that coordinate with this punch so your projects go faster and look great.

I had so many people visit my blog for the blog tour and I'm sure most of you have a Stampin' Up demonstrator you regularly buy from. I would encourage you to call or email her if you NEED this punch or the Medallion stamp that I featured in the blog. Of course, if you don't have a Stampin' Up demonstrator, I'd be happy to help you out (some people would say enable)! You can email me at wrightplace4@mindspring.com with your order or click on the catalog on the right sidebar to place an online order.