Thursday, August 5, 2010

Unique Cards Tax Free products and Hostess Special

These are some pictures of cards I took at the Stampin' Up 
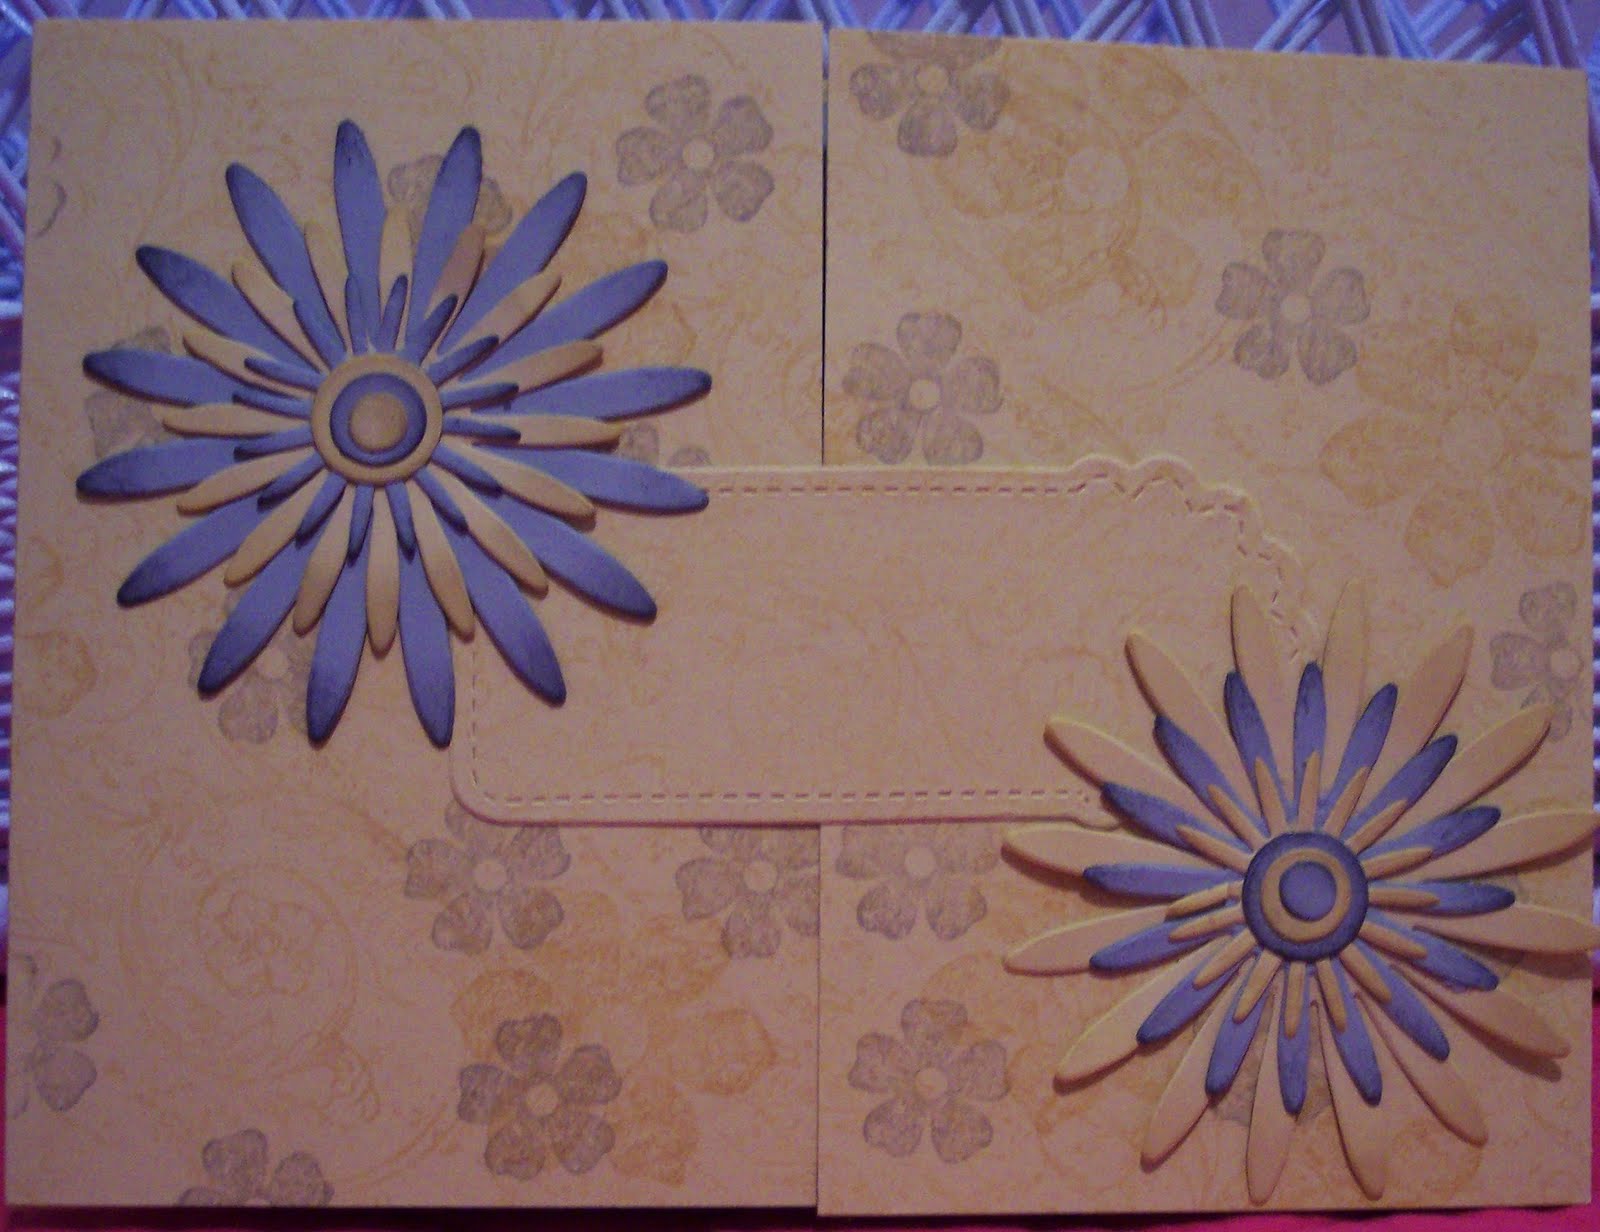
convention that were a bit unusual and very clever. First is a fun punch card. The duck is made with oval and circle punches. Very cute, I love the inking. On the right is a beautiful card with muted colors and beautiful butterflies. Wouldn't you love to get that card in the mail for a special day!
I also loved the watermelon card, especially the ants hauling off a piece of watermelon. So fun! The tin container on the right is by Monica Weaver, she uses a lot of metal and showed us how to put it through the Big Shot to emboss or cut.

As many of you know Tennessee’s Sales Tax Holiday is this weekend August 6-8, but did you know that some Stampin’ Up! items qualify? How about stocking up on Stamping supplies this weekend! The following items qualify:
Item # Description Regular Price
100425 2-Way Glue Pen $3.50
104332 SNAIL Adhesive $6.95
104331 SNAIL Adhesive Refill $4.50
103305 Dotto $12.95
100902 Dotto Refill $6.50
104045 Anywhere Glue Stick $3.95
104294 Sticky Strip $6.95
104430 Stampin’ Dimensionals $3.95
103683 Mini Glue Dots $4.95
103579 Paper Snips $9.95
103179 Craft & Rubber Scissors $19.95
108360 Craft & Paper Scissors $29.95
101879 Watercolor Pencils $19.95
105021 White Uni-Ball Signo Gel Pen $3.95
102845 Blender Pens $9.95
Various Stampin’ Write Markers (individual) $3.50
120948 Many Marvelous Markers New Color Kit $35.95
119801 Many Marvelous Markers In Color $14.95
119700 Many Marvelous Markers Subtles $28.95
119701 Many Marvelous Markers Regals $28.95
119702 Many Marvelous Markers Brights $28.95
119703 Many Marvelous Markers Neutrals $22.95
105394 Basic Black Stampin’ Write Journaler $3.50
110755 Multipurpose Liquid Glue $3.95
120962 Stampin’ Pastels $24.95
120963 Stampin’ Pastels New Color Kit $14.95

If you would like to stock up on any adhesives or take advantage of the tax-free markers, scissors, pens, pastels, etc please let me know. I’m going to join in with passing on savings and pay the postage for you! Since tax is nearly 10% and shipping is 10% that will save you nearly 20% on your order. Call or email your order to me before the weekend is over!

Stampin' Up has also come up with a great special for the month of August. In addition to the hostess stamp set and $35 in free merchandise a hostess normally gets for a $350 workshop she will get $25 more in free merchandise. That is a total of $60 worth of great products you can choose from the catalog! I think that makes it even more tempting to book a workshop during the month of August!
Workshops are so easy for the hostess. All you do is invite your friends over and provide a little snack for them and I do the rest! I will demonstrate a few techniques and they will make a quick and easy (although absolutely wonderful) card or box they can take home with them. Even if some of your friends aren't as crafty as you are, they will enjoy making a card they can send to someone special. It doesn't have to be a long workshop, I can even do one on your lunch break at work. I can also do a scrapbook class if you prefer.
For tax-free, shipping-free orders this weekend or to book a workshop during the month of August, email me at wrightplace4@mindspring.com, I'll be looking for your email!

Wednesday, August 4, 2010

Stamp Camp Projects

I participated in a Stamp Camp while I was in Salt Lake City before the Stampin' Up Convention. We made 8 wonderful projects. I haven't posted them yet because I didn't put them together so they wouldn't get smashed on the flight home. I finally got them put together except for one which is probably my favorite and I'll be doing a class soon using it. But today I'll show you the other projects.


First is a beautiful, all Very Vanilla card taught by CaroleAnn, Sandy and Lee. I think they gave Sandy credit for designing it. It uses lots of embossing and dies so the Big
Shot was working double time getting everything cut for the class. The card is beautiful inside and out!
5 of the projects are in this picture. I got the information about the teachers in each class but I haven't found it since I got home. If you were one of the teachers and see this post before I find the info and edit it to add your names, just let me know and I'll post your blog links too.
In the front is a cute little "pizza box" that contains the little 3X3" cards to the right of the box. Wouldn't this cute box filled with note cards be a great Christmas present or beginning of the year teacher present?
Behind the pizza box is a very nice butterfly basket. The little butterflies laying in front of it are the cutest tiny little butterfly note cards. This is an amazing project and another great gift! Next to it is a cute wristlet purse with the butterfly pansies on the flap. This was designed by Gretchen. I put some velcro on it to hold it closed. Humm, what should I put in there? Candy, note cards, a gift card? It is a small purse but it could be filled with lots of fun stuff.
In the back are 2 boxes, the Old Olive and Rich Razzleberry box is an explosion box but it is a bit different that what I have made before. I'll share the inside in another post. The box with the brown ribbon tying it closed is a cupcake box. We used vellum on the top which you can kind of see through but I think window sheets would be fantastic so you could see the cupcake clearly. I'll have to show the inside and how the box is constructed in another post too. It is very clever and a great way to give a small token but dress it up so it makes a lot of impact!
I am enjoying being back home and trying to recuperate from my vacations. I'm waiting for that elusive day when I can stay home all day and do nothing - I seriously need a few naps! I have grape juice to can and I'm wondering if I can get enough hunters out here to take care of the deer who ate ALL of my peas while I was at convention. When is hunting season anyway? I saw 2 deer in my yard at 3:30 this morning. I was sleeping good but Molly sensed they were out there and started barking. I hate waking up like that! I managed to pick some butterbeans today but the deer have been enjoying them too. You would think they would be eating the apples that have fallen on the ground under the apple tree. I need to start canning those too.
The fun never ends.

Tuesday, August 3, 2010

Convention Swaps

If you have been following my blog you know I love swaps. I love the ideas I get and the samples made with stamp sets and embelishments I don't have. Often the techniques are ones I haven't tried yet so I am inspired to go create something new with the techniques. Here are some of the swaps I got this year at the Stampin' Up convention. These are mostly my favorites. Again, if you click on the pictures they will be bigger so you can see some of the details on the card that won't show up in the smaller pictures. There are another group that have interesting ideas I'll feature tomorrow.


I'm going left to right, top to bottom on each picture with the name of the person who made the card to swap. First picture 1-no name, 2 Brenda Van Middelkoop, 3 Patty Edwards, 4 no name, 5 Nikki Jones, 6 Megan Wheeler

Second picture, 1 Laurie Zoellmer, 2 Tamie Ackerson, 3 DeAnna Hollis, 4 Loreli Stone, 5 Lauri Seago, 6 Colleen Olsen


Third picture, 1 Shoni Matney, 2 Krista Tesky, 3 Carol Payne, 4 Sharon Armstrong, 5 Sandy Haynes, 6 Kimberley Brown


Fourth Picture, 1 Cathy Broom, 2 Kim Assaly, 3 no name, 4 Maryann Scott, 5 Kathy Vannantwerp, 6 Karen Albin


Fifth Picture, 1 Tricia Radford, 2 Kimberly Myers, 3 Virginia Killmore, 4 Beverly Penick, 5 Bobbie Bjergo, 6 Sharon Armstrong

Monday, August 2, 2010

A Few of My Favorite Things

I've been singing this song over and over in my mind since I decided my next post would simply be pictures from some of my favorite things from convention. There were so many great projects that I loved. So, here are a few of my favorite things.

First, 2 cards made with the Elements of Style stamp set. It's a set I haven't ordered but I've seen so many great projects with it that I think I need it! It looks great in these muted counry colors, I love the vintage country look.

A couple of wimsical cards, I love the little bookworm made with punched circles and ovals and the beach looking card with flip flops is another great card. I also love how the patriotic card was made using strips of red and white punched with the Scallop Trim Border punch.


One of the display boards had these beautiful flowers made with the Daisies #2 die, I love them! I didn't realize I needed this die until I did a few projects with it and, of course, saw this pretty bouquet.

Don't you love this basket of strawberries? I'm not sure how she made them but I bet we will see tutorials online very soon. The wreath is made from scalloped circle dies in various papers and cardstock. It is at the Stampin' Up Home Office in one of the rooms tht has lots of beautiful Christmas decorations and displays. It's another over the top project but since you can use the Big Shot to make all the circles it might not take too long to replicate.

Last but certainly not least, some great friends were at convention and they are definitely a few of my favorite things! Left to Right are Pam, Mary, me and Julie. We had a lot of fun at convention and are making plans for next year already.

There are lots more favorite things, I haven't even gotten to my swap cards yet! I have about 150 cards, I haven't taken the time to count them so I'm really not even sure how many there are!

Sunday, August 1, 2010

Ribbon Flower


I promised I would post a tutorial of the ribbon flower from my August scrapbook page. I started out with about 18" of satin ribbon, Marina Mist to match the layout. I snipped it a little more than halfway through every 3/4" or so. It doesn't have to be exact.


Round off each "petal". I just folded the ribbon at each slit and rounded 2 at a time. Cover a 1 3/4" circle with Sticky Strip. You need a very strong adhesive for this part. Place the end of the ribbon at the edge of the circle and start going around the circle, making a small pleat at each snip. When you get to the center of the flower, trim off any excess ribbon. You really should use up nearly all of the ribbon, going around the flower about 4 times, pleating as you go.


Add a brad or button to the center of the flower then hold with a pair of tweezers or plyers and heat with the heat gun. Don't be shy, get the petals to shrink up until you are pleased with the look of the flower.


Saturday, July 31, 2010

Over the Top projects and Blog Candy Winner


I love to look at over the top projects. Some of them are fairly easy to replicate but some just amaze me and I wonder at the sanity of the creator. I mean, really, how long did it take to make this cake? It's gorgeous but I don't see myself making one!
The other projects are more down-to-earth. I might attempt some of them. The Christmas ornaments remind me of the pumpkin I made with strips of paper. I just need to figure out the trick of the double decker one.
The bright box is a fun little container for some owl-covered Mint Patties. The boxes aren't too hard to make and this would make a very cute gift.

I love the little boxes so many people design to hold not only candy, but also gifts of cards. they are fun to make and will make quite an impact when they are presented to our friends and family. The pink and brown box has a cute little pull out drawer that holds the cards and the last box has amazingly life-like lillys on the top. Didn't she do a great job! You open up the box to reveal 3 compartments for candy or other small gifts. This box just amazes me! It reminds me of a story my mom told me when she was a teenager. A boy was coming by to visit her so she spent extra time making the living room look great, including picking a big bouquet of day lillys. She went on to get cleaned up and dressed and was all ready to greet him when he arrived. As she led him into the living room she was shocked and embarrassed to see the lilies all closed up in the dim light of the lantern! It's hard to imagine my mom as a young girl excited about a date but this story made me realize she used to be an insecure teenager too.
I forgot to draw the winner of the blog candy yesterday because I was on the way to GA for my grandson's 5th birthday party. I seriously didn't feel like traveling again but for my sweet little Easton, I'm glad to go. At least my husband came with me so he could drive for the 9 hours it takes to get there. The winner of the blog candy is Jae! I need to get your address, Jae so I can send your stamp set and markers. Yay Jae!

Friday, July 30, 2010

Don't you just love mini purses?

Another thing there were lots of samples of at the Stampin' Up convention was cute little paper purses. I did some clases where we made purses and I saw lots of other purses in swaps and displays.

The only one I know who made is the pansy purse made by Gretchen Baron. The picture is not the one I made, I took it of one of the samples. I took her class on how to make the pansies from the butterfly punch but I need a remedial class! I'll try again when I get a chance to perfect my pansies.


Thursday, July 29, 2010

Mini Albums and More Sample Boards

Mini albums are always popular. There were some wonderful examples shared last week. I love mini albums, I guess partly because they are small and quickly finished and partly because they are so cute. There were lots more than 2 mini albums there but for some reason my blog won't let me add any more pictures. First is a step album using the Travel Journal DSP and Sentimental Journey stamp set, both from the Summer Mini catalog.

Next is a beautiful paper bag album. I didn't get a picture of the inside of this one but it is so beautiful. The artist did a wonderful job with lots of beautiful touches on this little album.


The third mini album is also a stair step album. It uses another great DSP paper pack and stamp set from the Summer Mini catalog, Island Oasis and Tropical Party. I love that stamp set and paper, it is what I made my July scrapbook club layout out of.


The last mini album I'm posting is one I made at a stamp camp at the pre-convention events. I'll be posting some of the other beautiful projects I made at the stamp camp over the coming week. This album is a Tri-shutter album. It looks complicated but once you get it folded right it is a pretty quick album. I'm thinking this will make a great Christmas card for some of my family and close friends, just enough room to put several pictures from the year and they can set it open on their desk or mantel. It was a great idea for a card and putting 2 together to make into a mini album is an equally wonderful idea!

Last, here are some more display boards from convention. I'm hoping I haven't posted the same board 2 or 3 times by now! I didn't write down the numbers as I posted the first few times and they are too small to tell apart easily. Enjoy the inspiration!